
Click to enlarge

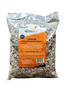
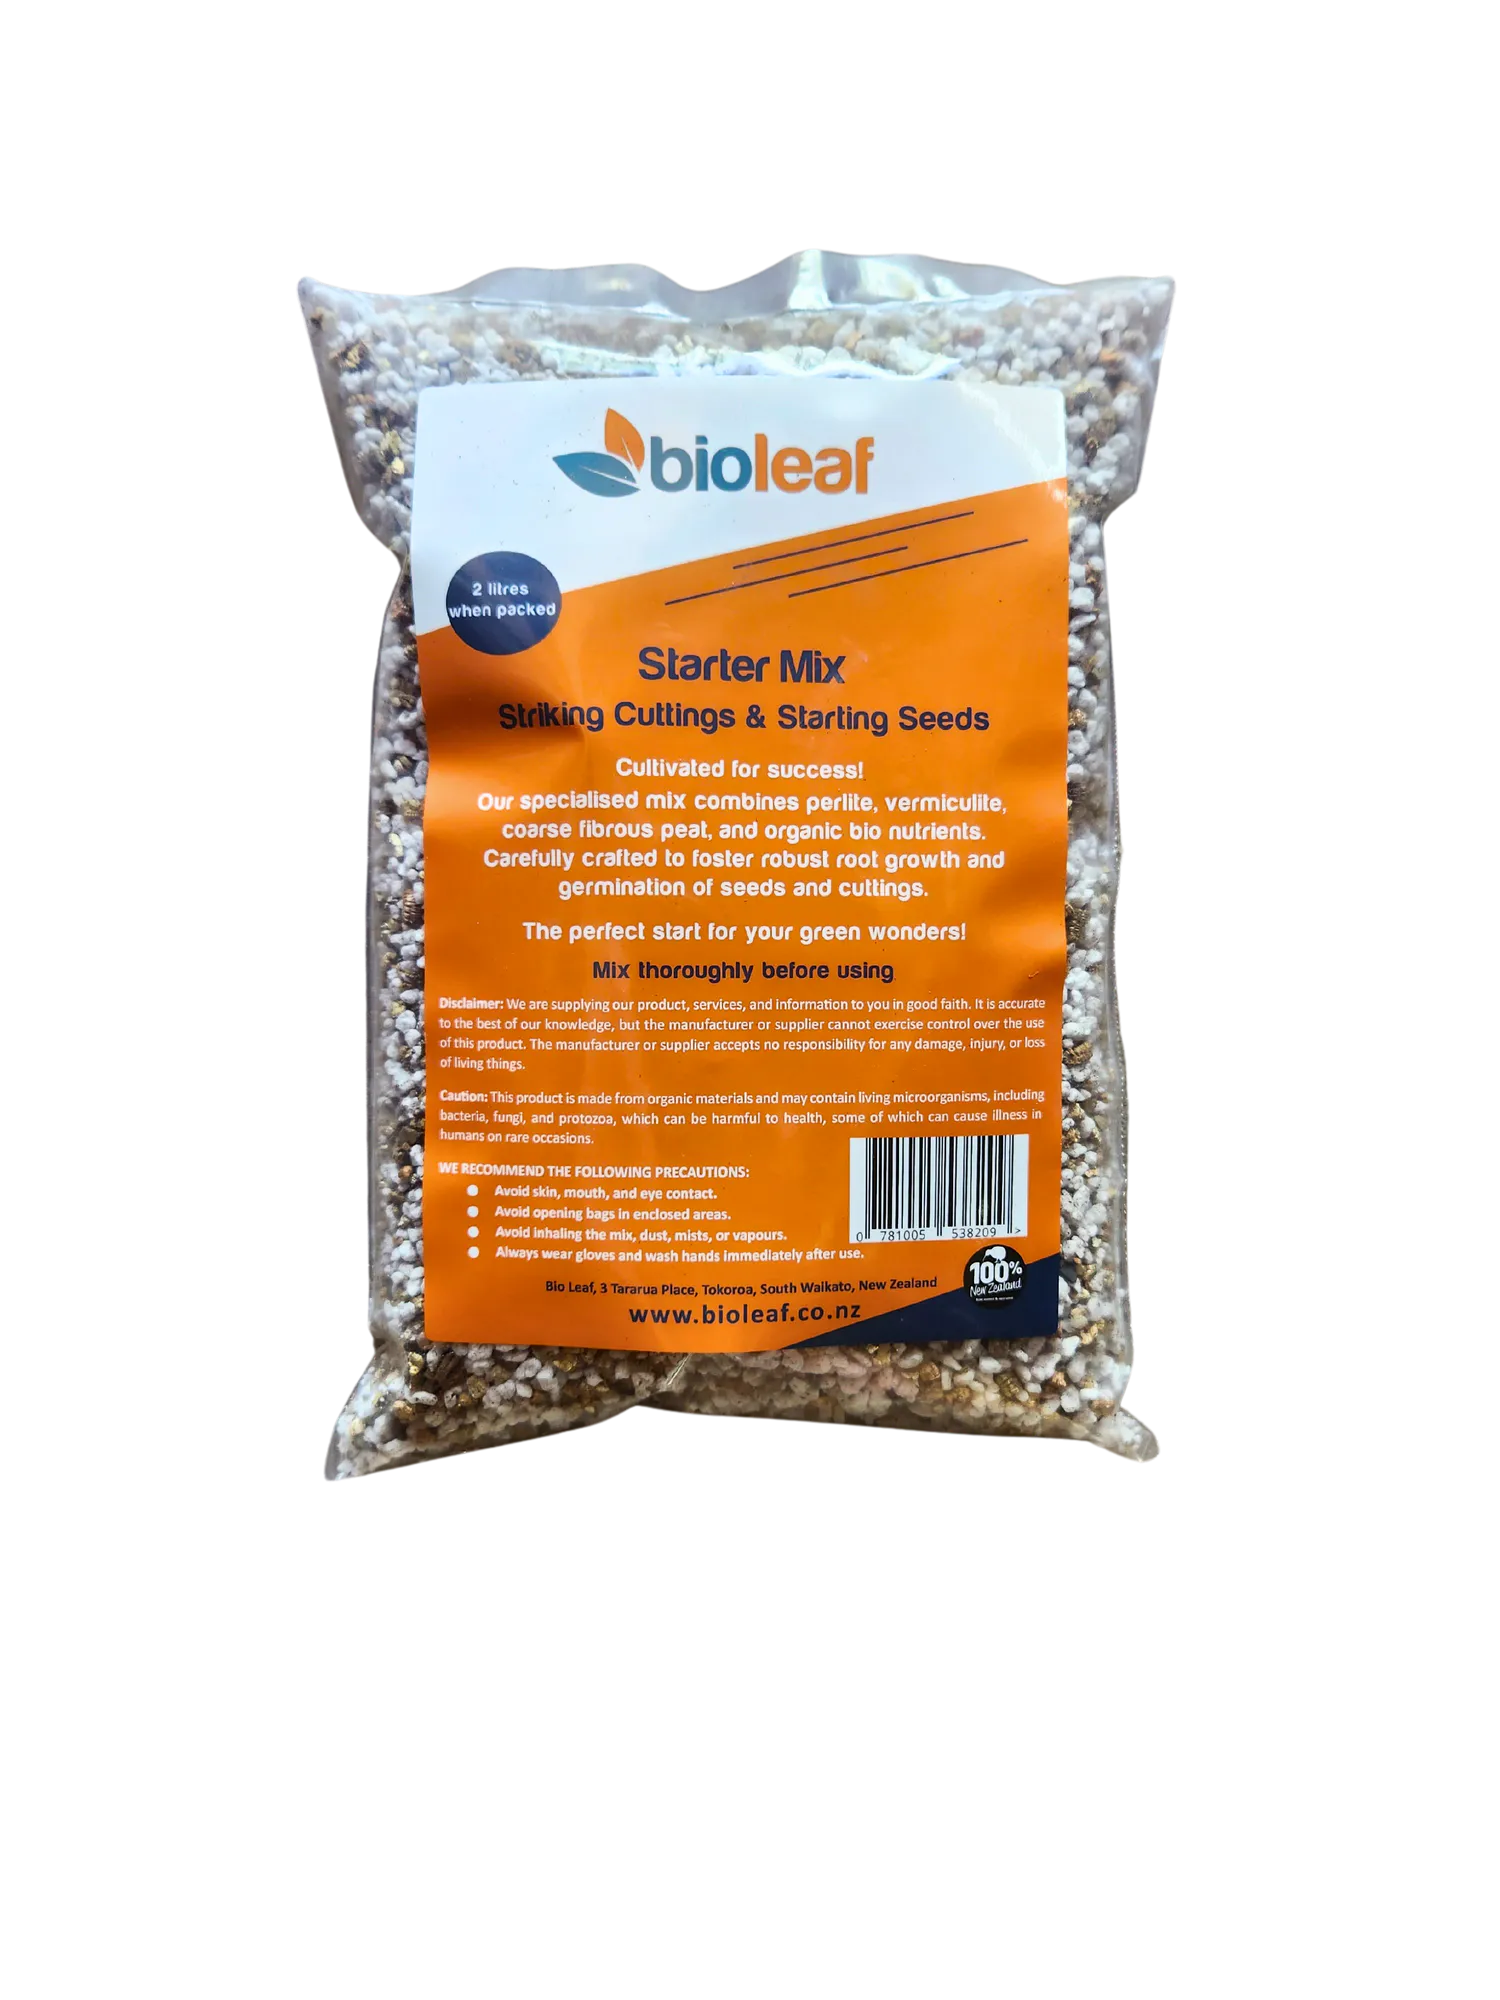
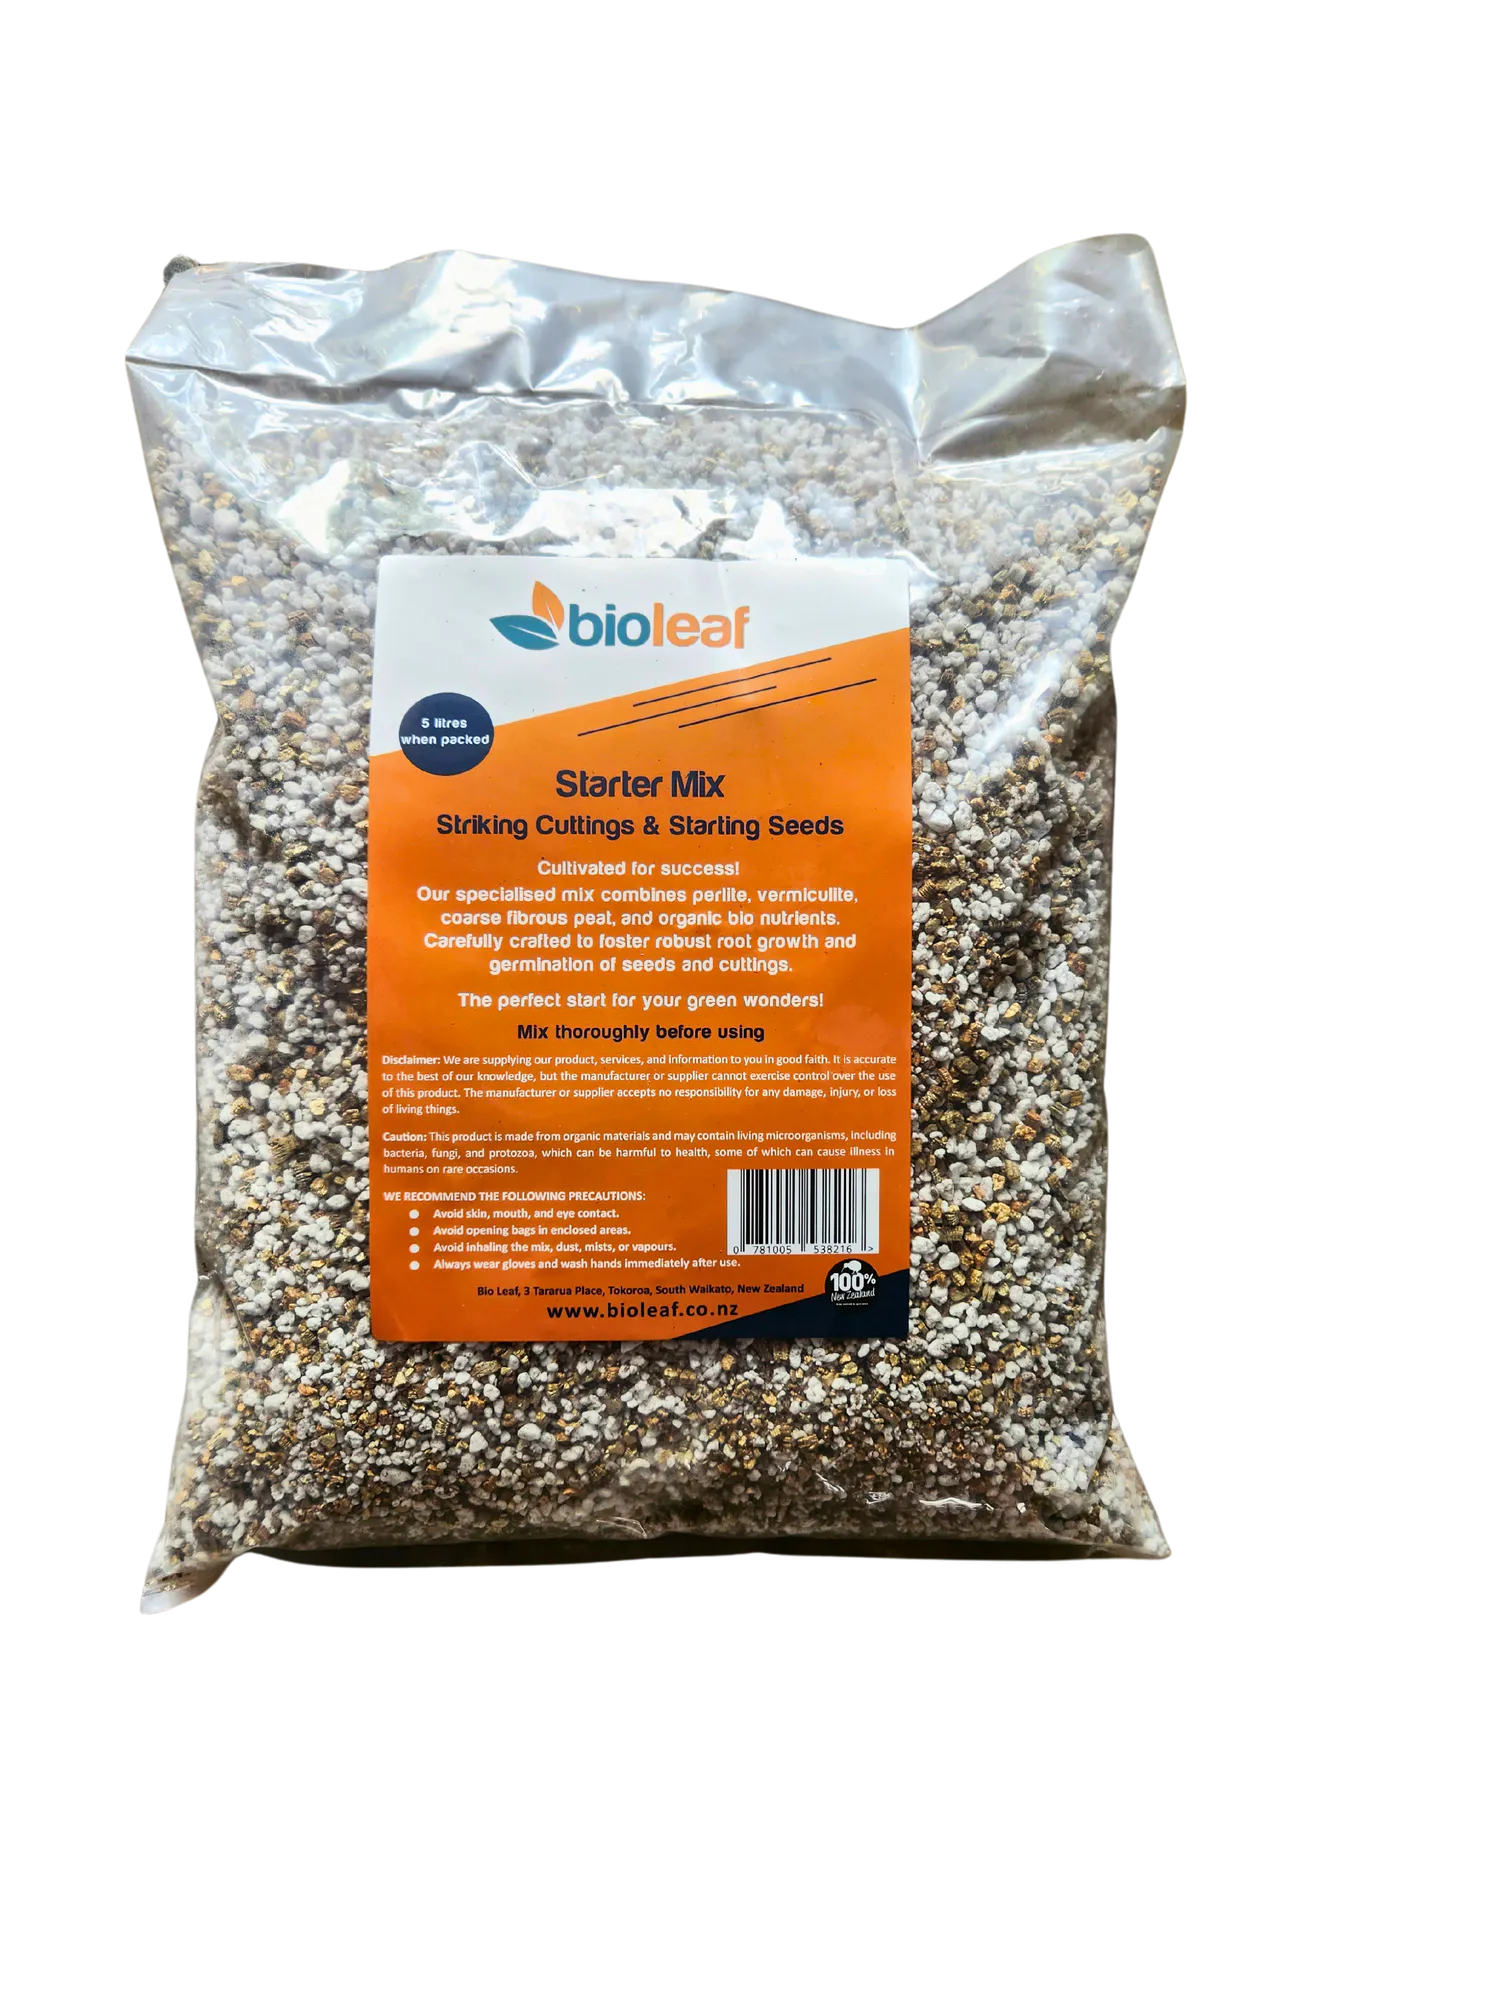
Bio Leaf Starter Mix
BIO LEAF STARTER MIX
Bio Leaf Starter Mix is a cutting-edge blend that is the perfect solution for sowing seeds and rooting cuttings. If you are into sprout seed cultivation, this is the ideal medium to germinate and grow them in.
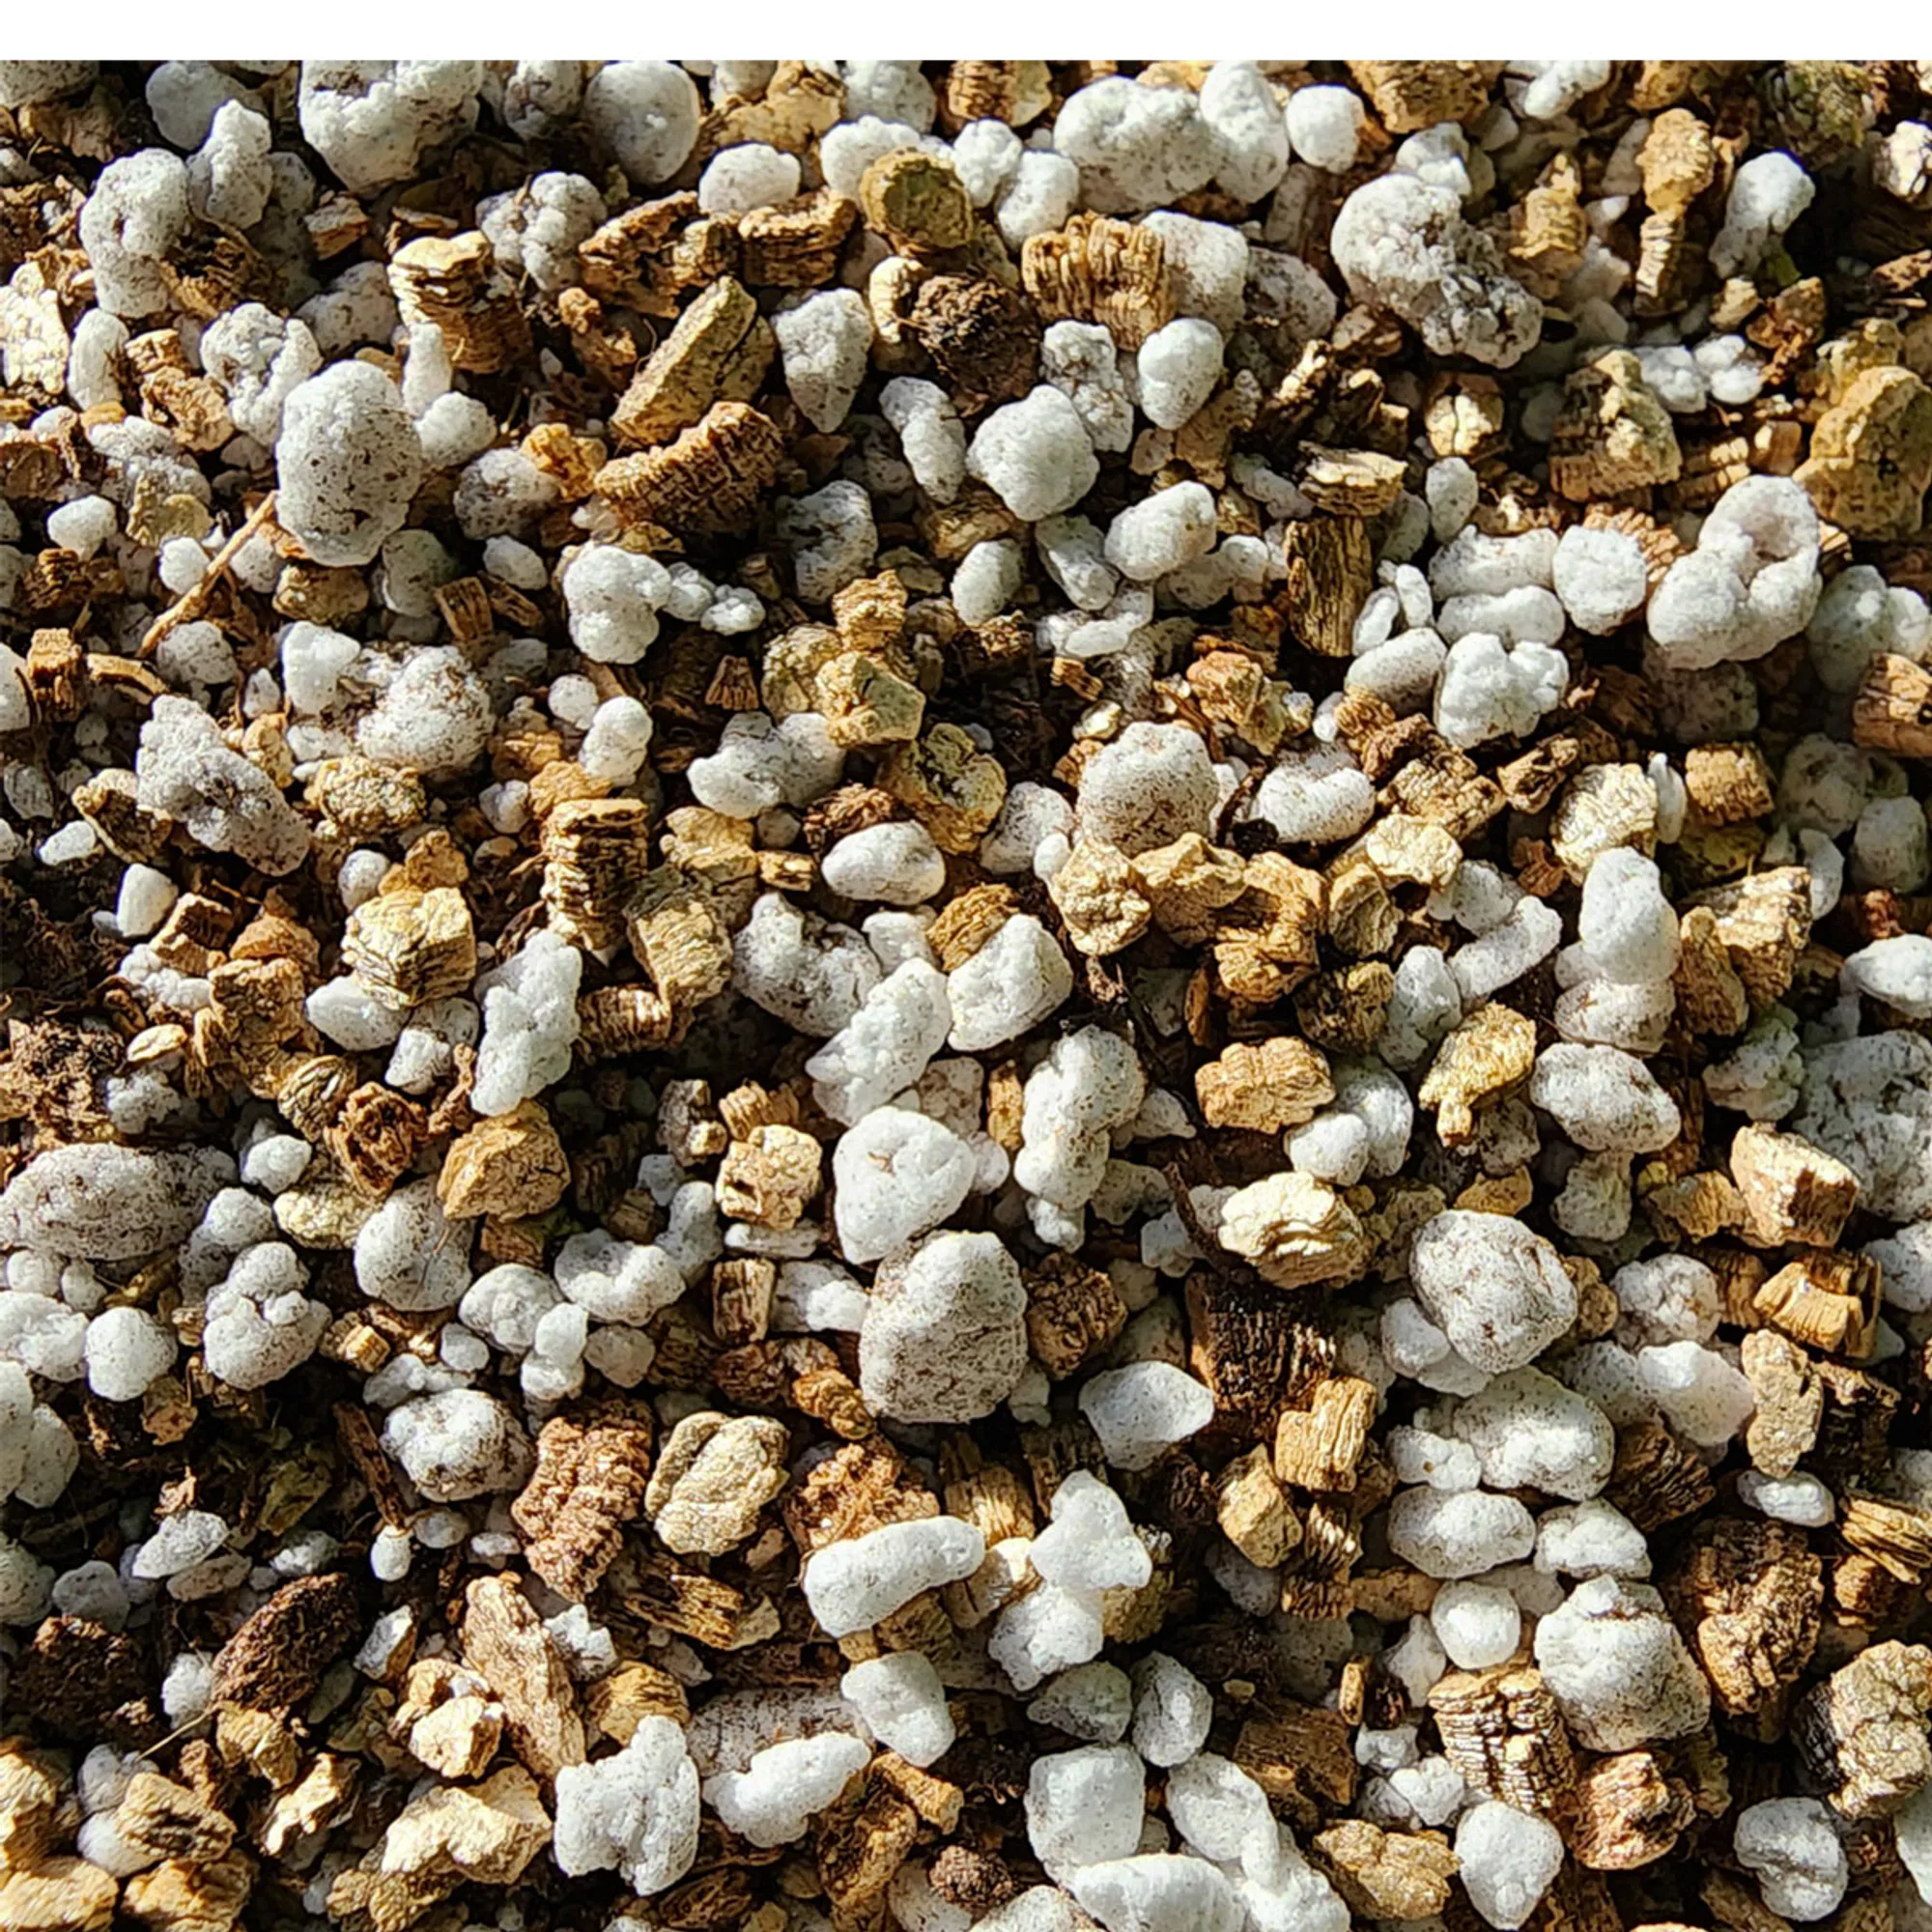
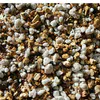
Blended from sieved perlite, vermiculite, coarse peat fibre and our custom organic nutrient blend.
Added our custom Organic Nutrient Blend
The organic nutrients included in this blend aren't just there for show. They provide essential support for root development and vibrant plant growth. These nutrients cover those vital organic compounds typically missing from most fertilisers, providing a well-rounded solution for your plants.
They grow better with extra food
Our recommendation for optimal results is regular feeding with Dyna Gro GROW or Dyna Gro Foliage Pro. These top-tier products will work in synergy with our starter mix to provide the comprehensive nutritional support your plants need.
Better availability of calcium
The Bio Leaf Starter Mix is formulated using three types of calcium. This multifaceted approach helps regulate the pH of the mix and simultaneously enhances the available calcium supply, a critical nutrient for plants.
We have not forgotten about silicon
Alongside this, we've also incorporated a form of organic silica into the mix. Silicon bolsters plants' resilience, helping them cope with stress and supporting their natural defences against disease and insect infestation.
Your plants deserve the best. Whether setting up a seedling tray or planning for cutting propagation, our Bio Leaf Starter Mix is the perfect companion to your plant journey. It serves excellently as a germination soil mix, seedling soil, and sprout-growing mix, offering comprehensive support to your plants at every stage of growth.
When should I water the mix?
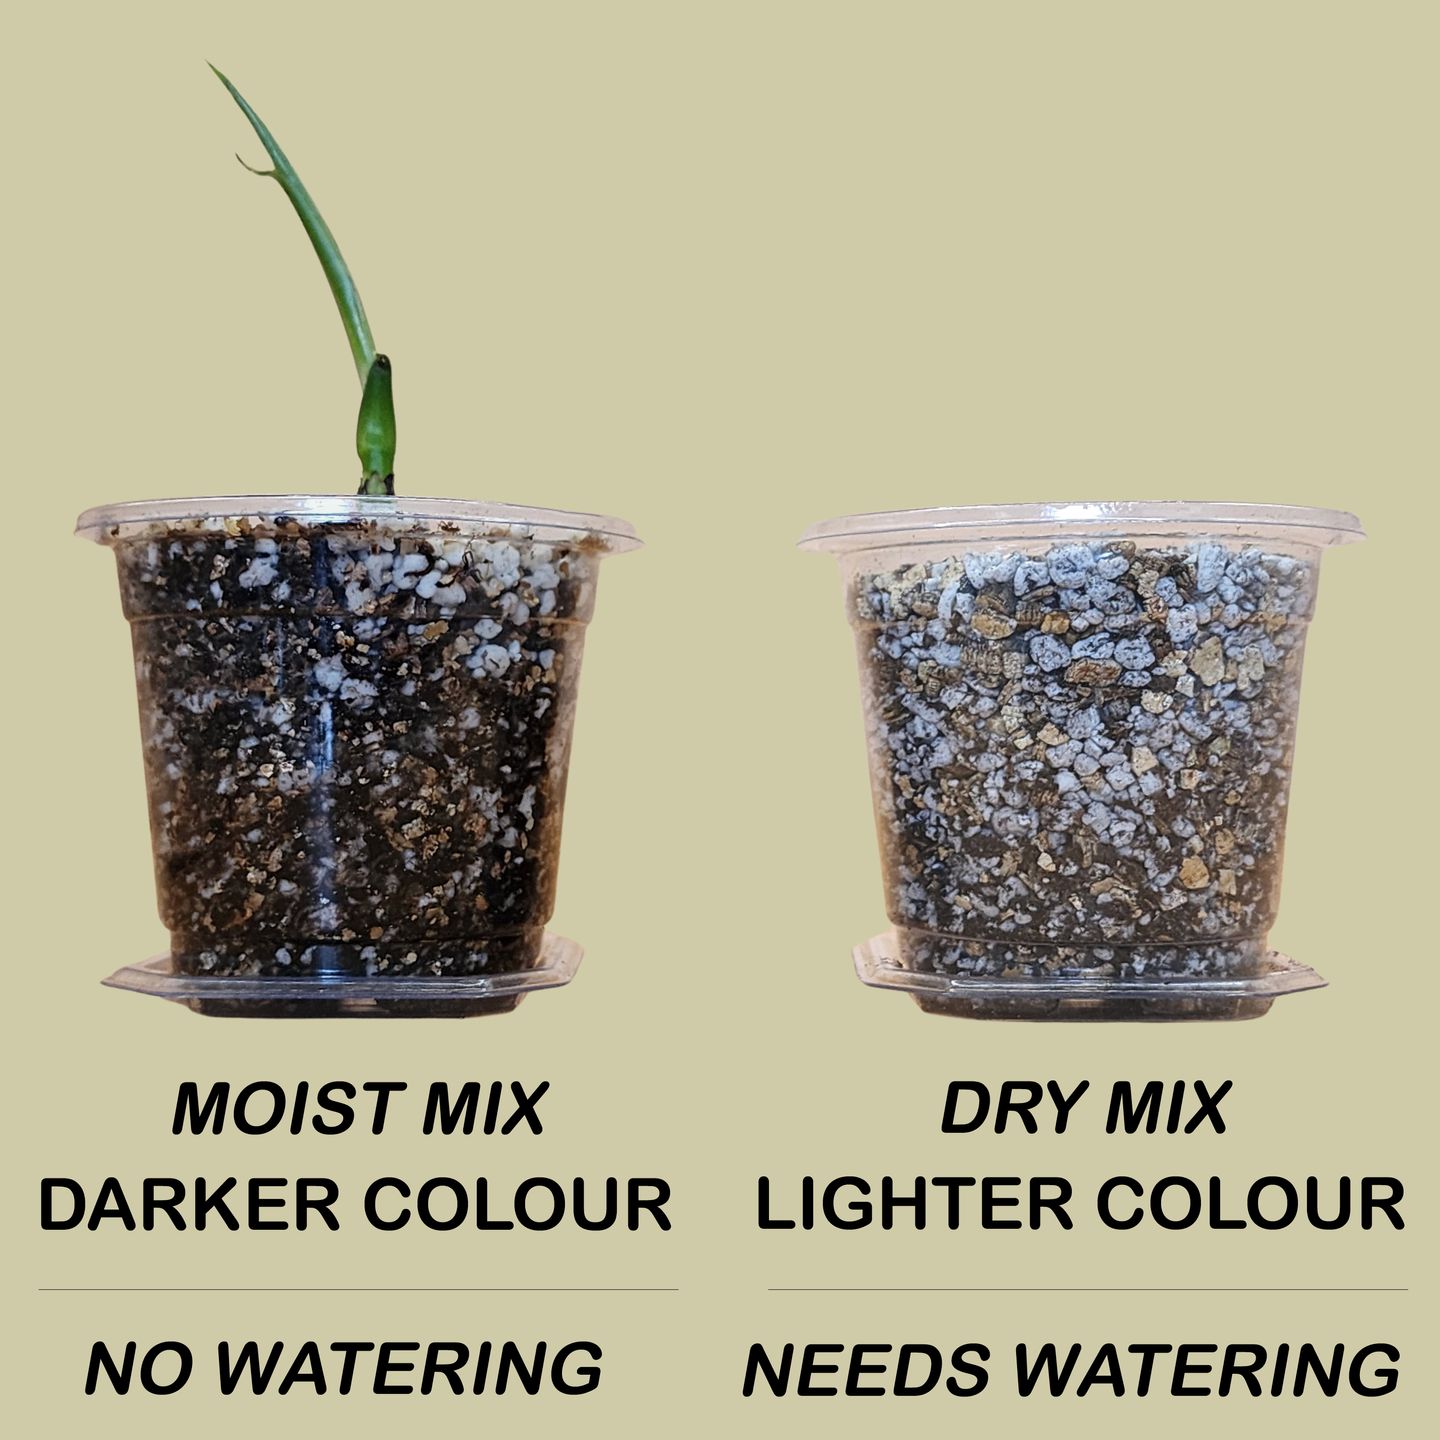
Consider these guidelines to establish when to water your mix.
- Firstly, check the weight of the pot. A saturated mix will be heavier. As the water evaporates or is absorbed, the overall weight will reduce, indicating a need for watering.
- Secondly, check the colour of the mix. A fully saturated mix tends to display a darker hue, symbolizing high water content. Over time, as the water decreases, the colour will transition to a lighter shade, suggesting it may be time for watering.
Here are a few tips for germinating seeds
Seaweed contains bioactive compounds known to stimulate seed germination. Soak your seedlings in a GroSafe Bio Power Seaweed Flake solution to improve the seed germination rate. Soak seeds for about 60 minutes and then plant them into the mix. Alternatively, spray the seeds with a seaweed solution after sowing them.
- Begin by filling your container with Bio Leaf Starter Mix. Ensure that the mix level is about 1 cm below the container's rim. Moisten the mixture liberally and wait until it feels slightly damp to the touch.
- Smooth out the Starter Mix in the container to create a level surface, and then gently compress the mix to firm it up.
- Distribute the seeds across the mix as per the instructions provided.
- Carefully add a thin layer of Bio Leaf Starter mix on top of the seeds. For extremely tiny seeds or seeds that need light for germination, you can press them lightly into the surface of the mix.
- Mix a solution of seaweed and water and wet the seeds using a fine mist spray to avoid disturbing their position or causing them to float.
- Place the seed container in a warm place (Our hot water cylinder is in a cupboard, and it is the ideal place for germinating seeds. It is warm and has a stable temperature.) Cover fine seeds with a sheet of glass or plastic to help regulate temperature and maintain consistent moisture/humidity.
- Check your seedlings once a day, and once most of the seeds have germinated, gradually remove any covering and expose them to more intense light. Eventually, introduce them to direct sunlight to strengthen and harden the seedlings.
- Once your seedlings have more than two leaves, start feeding with a weak solution of Dyna Gro Foliage Pro or Dyna Gro GROW. The dilution rate for Dyna Gro is 1 ml to 3 litres of water.
- It will be beneficial to add Dyna Gro Pro-TeKt as this will support the seedling's ability to resist fungal disease.
- Ensure the seedlings are consistently moist, but avoid overwatering them to the point where they're soaking. Likewise, do not let the mix dry out completely.
- When the seedlings have grown to the point that they are big enough to handle or when roots begin to grow out of the bottom of the container, it's time to transplant them into a new container.
Tips for rooting cuttings:
To ensure the successful growth of plant cuttings, you need to maintain a warm, humid, and moist environment. Here's a step-by-step guide to help you achieve this:
- Choose a branch between 7 to 12 centimetres long and detach it from the plant with a fresh razor blade, making a 45-degree cut. Avoid using scissors or snips, as they can damage the plant tissue, rendering it ineffective.
- If the lower part of the branch has leaves, remove them to prepare the branch for insertion into Biio Leaf Starter Mix.
- Soak the cuttings for 20 minutes in a solution of KLN Rooting Concentrate, Pro-TeKt. To 1 litre of water, add 1.3 ml each of Pro-TeKt and KLN Rooting Concentrate. Always add the Pro-TeKt first, then the remaining ingredients.
- If you do not have KLN Rooting Concentrate, soak the cuttings in GroSafe BioPower Flake solution for 60 minutes.
- Fill your chosen pot or tray with the Bio Leaf Starter Mix (mix), which should be dampened beforehand. You can dampen it with the mix used to soak your cuttings.
- Using a pencil or a similar tool, create a hole in the mix to the desired depth. Gently insert the cutting into the hole you've created and pack the mix around it.
- Thoroughly water the Bio Leaf Starter Mix and the remaining soak mixture and allow it to drain properly.
- To keep the humidity and warmth at optimal levels, place in a growth container, ensuring the cover doesn't touch the cutting leaves.
- Place your rooting setup in a location with warm temperatures and indirect sunlight. Maintain moisture in the mix but ensure it's not overly saturated.
- When watering, use just enough water to keep the cutting mix moist.
- Once you observe the formation of roots, you can remove the cover and allow the cutting to acclimatise gradually to its new environment.